Here is how I build them.
1. lumber choice.
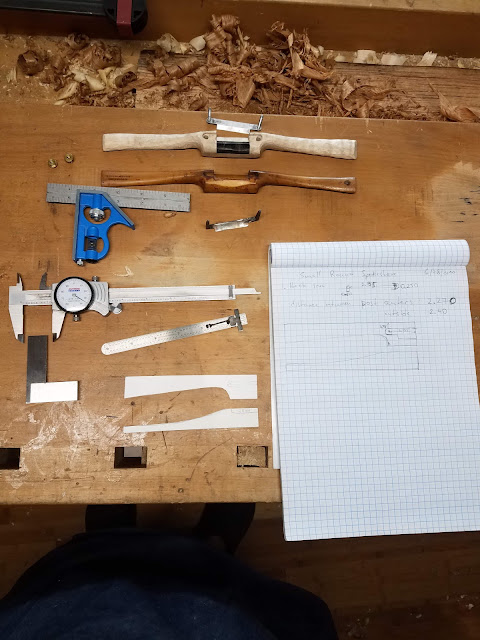
Most of the shaves I made were from Ebony sapwood. It is almost as hard as heartwood, but is easy to work. It is the top shave in the picture above. The other two are jatoba (Brazilian cherry) and walnut with boxwood wear strip. Jatoba is much harder to work, but it is extremely polished right off the edge tool. Walnut was probably the most difficult of the three to work with - it is soft and i had to constantly fight tearout when filing.
2. Milling and marking.
After I rough out the blank I square it by hand. The next picture shows this satisfying moment of sneaking up to the line from a cutting gauge which creates a little sliver.
After the blank is square and true I mark the center line and outline of the shave using half patterns. to make sure that mortises for blade posts are drilled exactly I use calipers set to 0.270 and mark using the calipers.
3. Drilling.
I use a drill press to drill post mortises and, sometimes, the shape, although I prefer to do it with a drawknife now.
4. setting the blade.
I use the blade to mark the area to excavate. A quarter inch Ashley Isles chisel is perfect the width of the blade. I use a small japanese saw to cut the cheeks and take out the bulk of the waste with a chisel, following with a float. now I can test the fit of the blade. If the blade fits well I can take shavings without holding the blade in place with nuts and I should be able to hold the shave by reversing the blade.
At this stage I usually add my maker's stamp. I like to do it before the final shaping with files and sanding. This way the stamp is not too pronounced and is less of an eye sore.
5. Final shaping.
I try to do as much work as possible using edge tools, but eventually I have to use files and sand paper. Figuring out how to use files has not been easy at first. I felt like I needed help, and luckily, Konrad Sauer, of Sauer and Steiner planes, has taken my call and talked me through his process. The main two takeaways were to switch hands and directions of filing and have good light. The other lesson I learned on my own is to wear a good dust mask, particularly if you have asthma.
After that I scrape the shave and go through the grits from 120 to 500.
6. Finishing.
I use shellac based product called Royal lac and apply it as French polish. Royal lac becomes impervious to alcohol and hot water after about a month. I also add a layer of Alfie Shine and buff it wit a horse hair brush. Then I hone the blade and take a few test shavings. If the shave is set well I sohuld be able to take shavings between 2 and 6 thou by lightly adjusting the angle at which the blade is introduced to the wood
I have been very fortunate to have people ask me to build shaves for them. It is a great feeling to use the tools you make, but it is even better to watch other people use your tools.


